Seven Steps for Running Your Own Environmental or Beautification Project
- Beautification Trust

- Sep 14, 2022
- 2 min read
Updated: Nov 14, 2023
Congratulations on deciding to lead your own community project!
Local communities working together can be the most powerful movements for change. Whether it’s a waste clean-up, community mural, native planting or something else, we’re here to help you plan, organise and deliver a safe and successful community project with your group.
Here are seven key steps for leading your own fun, safe and successful environmental or beautification project!
Click each step to expand for more detail...
1. Identify the issue and decide how you want to help solve it
Thorough planning is the most vital part of running a successful project. A well thought out plan will be the foundation to the rest of your preparations.
Do some research on the issue you want to address to get a clear idea of the need and the scope of the project. For example, if you have noticed rubbish on your local waterfront and want to do a clean-up - How long is the coastline area? What important species inhabit the area? What kind of rubbish are you likely to find? Which other groups in the area might be keen to help?
Let the Beautification Trust know your ideas for your project so that we can support you. We have lots of resources specific to different types of projects – check out the Appendix. You can also get in touch with us for advice, tips and ideas.
Check that you have permission to access the area and to carry out your planned activities. We can help with this.
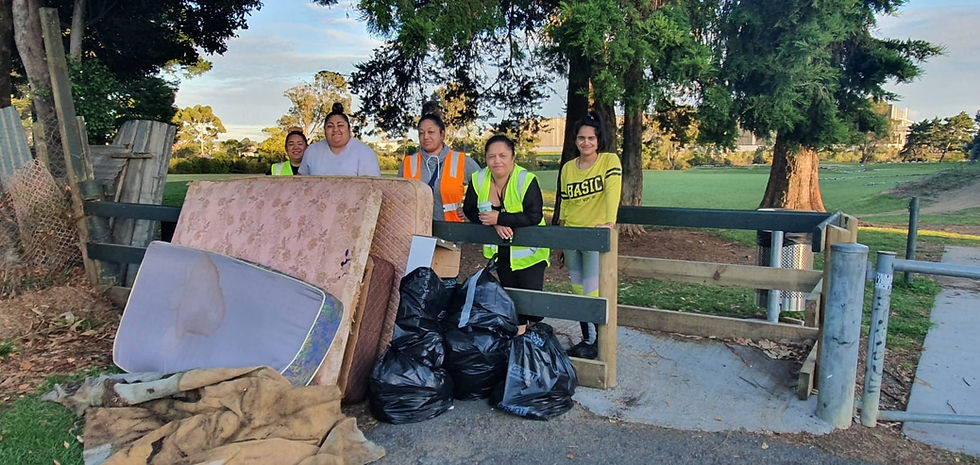
2. Make a Health & Safety plan
A good health and safety plan is essential to the success of your project and ensures your volunteers have a great experience.
Here are some free resources and templates for you to build your health and safety plan. These outline what to be aware of when it comes to keeping your participants safe.
General safety for all community projects
Activity safety for specific community projects
Check out the Appendix for more resources for specific projects such as clean ups, murals and public events.
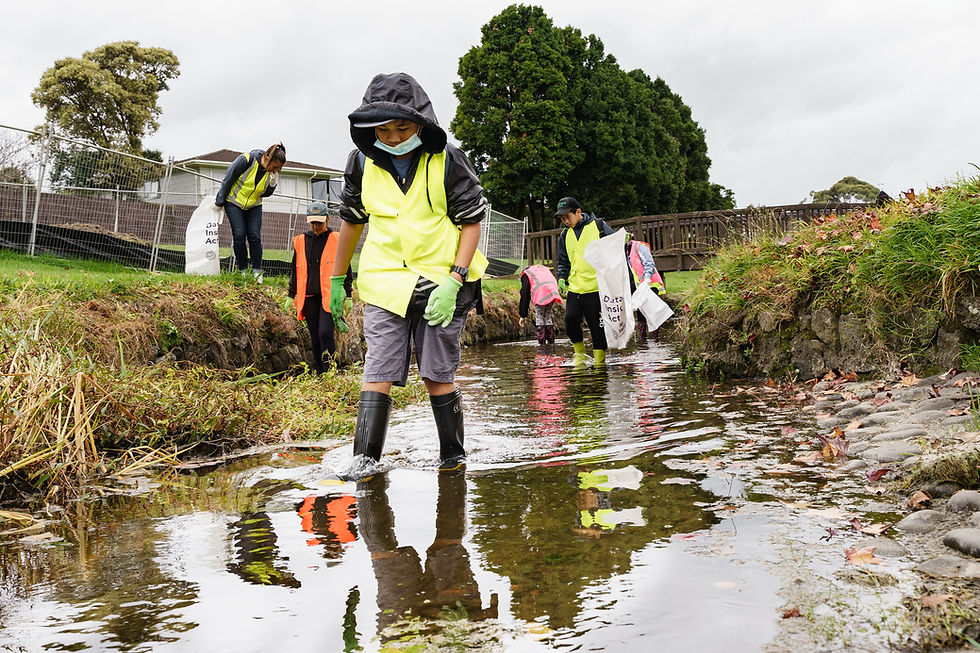
Building your health and safety plan
Visit the site(s) of your project. Using the Risk Identification Checklist as a guide, record all of the hazards and potential risks you and your group might face when working in this location. If you find a hazard not in this checklist, note down the hazard and what you will do about it.
Identify a central meeting point for you and your group while you’re working on site in case of an emergency. Make sure an ambulance would be able to access this spot.
Familiarise yourself with the Safety Brief & Emergency Procedures document.
Consider setting a rain date in case of extreme weather that would make your activities unsafe.
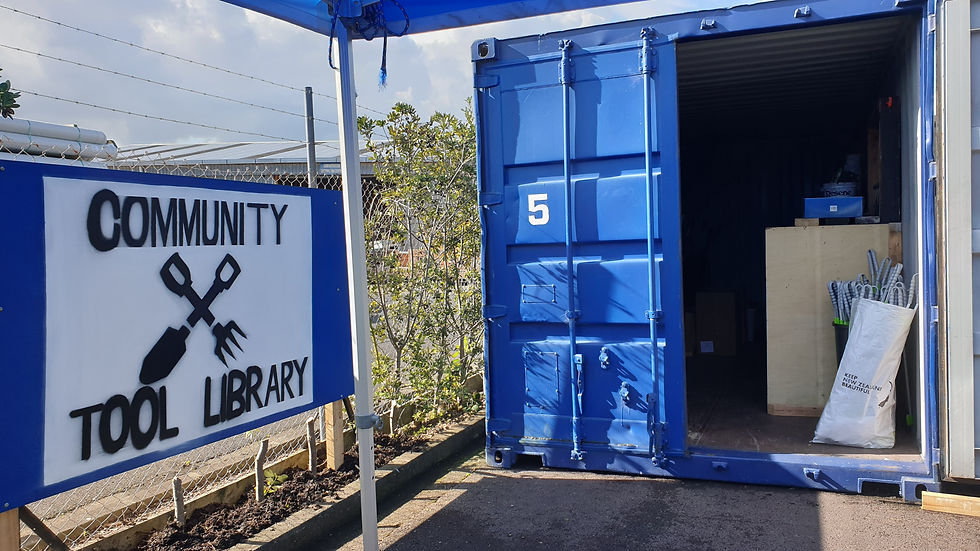
Identify the safety equipment and/or PPE (Personal Protective Equipment) you will need. We can lend you some safety equipment free of charge through our Community Tool Library.
Contact nearby residents and businesses to make them aware of your activities as a courtesy. Consider using temporary signage so passers-by know what is happening and can be aware of any hazards.
Important things to keep in mind
If you’re running a clean-up project, is there any litter that would require a special tool to remove? Would it be safe to do so?
Are you first aid trained? We recommend having at least one first aider at your project.
Consider the different ages, physical abilities and medical conditions of people in your group. How will they participate safely? Are there project areas or tasks that need to have dedicated people? For example, some tasks might be suitable for adults only, or people with specific skills or training.

3. Make a workplan
A workplan is a road map for your project, including your schedule, tasks, key contacts and more. It’s a useful way to keep all of your planning and project information organised in one place. You can also share your workplan with other people involved in the project, so everyone has access to the information they need. You can use our free workplan template to make a workplan with all of the relevant information about your project. We are happy to review and give feedback on your workplan, just send it to our Community Coordinator Erin on erin.bowers@beautification.org.nz.
4. Gather equipment and supplies
Having the right tools for the job makes your project easier, safer and quicker.
What will you need for your community project?
Think about the type of activities you will be carrying out – what equipment will you need?
Think about the number of people you expect to participate. Make sure you have enough equipment for everyone and the ability to transport this equipment to the site.
Use our Equipment List to plan what equipment you will need and where to get it. We can lend you certain tools and equipment free of charge through our Community Tool Library.
Things everyone in your group will need to bring
Sturdy, closed-toe shoes
A reusable water bottle
Sunscreen and a hat in case of hot weather
Warm, water repellent clothing in case of wet weather
Health & safety
The misuse of tools and equipment should be a potential risk in your health and safety plan.
Make sure you are aware of ways your equipment could cause injury or harm and get clued-up on how use them safely. This should be part of your health & safety briefing to your group before starting work on the day.
5. Promote your project and recruit volunteers
Now you’ve ironed out the details, it’s time to rally your community and get them involved!
The Beautification Trust can help you spread the word through our social media, website and e-newsletter. Send us an email with all the details so we can share your project.
Identify your target audience
Before you spread the word, identify your target audience for volunteers. What types of people would this project appeal to most? Take cues from who has already committed to participating. Who else could you reach out to?
Share your plans with your community
Everyone loves a good news story, especially when it’s about something that benefits their local area. Let your community know what your plans are, why your project matters and how they can be involved. Chances are local residents and businesses will be really supportive and you may even drum up some sponsorship interest!

When you’re spreading the word about your project, make sure your pitch is meaningful and inspiring. For example, if you are cleaning up a local park, tell people why it was chosen, what value it has for the local community and the environment, what special habitats it may contain for native species, any historical or cultural significance, and how their volunteering would make a big difference.
Check out the resource in the appendix for eight ways to promote your project and recruit volunteers.
Remember to include all key information in your promotional material; what the project is about, where it is, when it is, at what time, meeting place and how to sign up or find out more information.
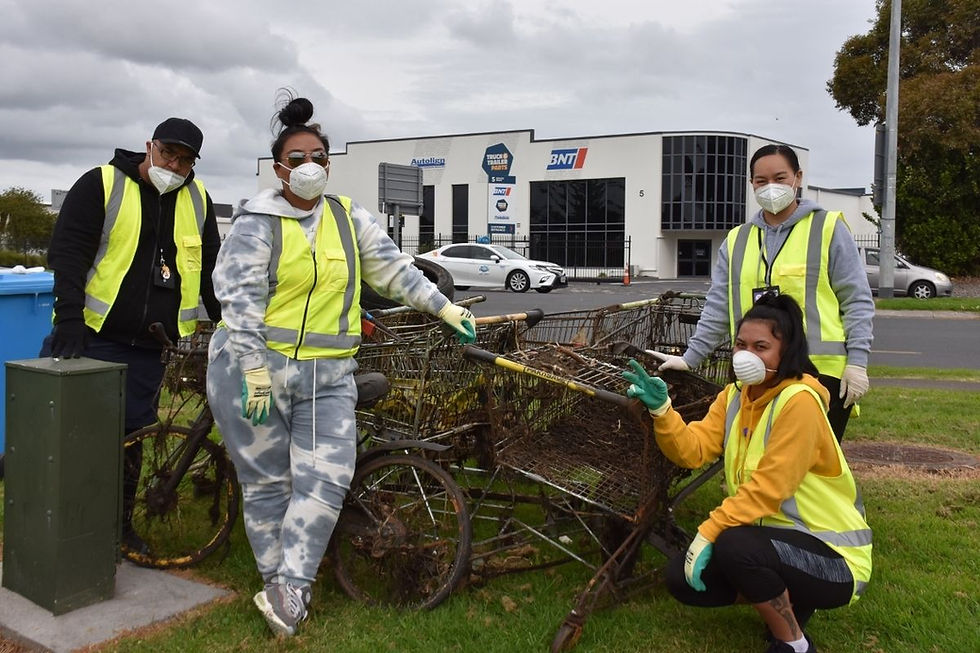
Registering volunteers for your project
It’s good to keep a record of who is present at your project for health & safety reasons, so you can account for people in an emergency. Good details to have on hand include:
Full name
Email address
Phone number
Emergency contact name and phone number
If they have any medical conditions
You may want to collect these details in advance by creating an online registration form and/or use paper forms for people who show up on the day. You can use our template for this.
Data privacy
When collecting and keeping personal details about volunteers, keep these details private and make sure you are aware of your obligations under the Privacy Act. Don’t use a public platform such as a Google Sheet to store personal information where other members of the public may be able to access it.
Making your community project even more successful
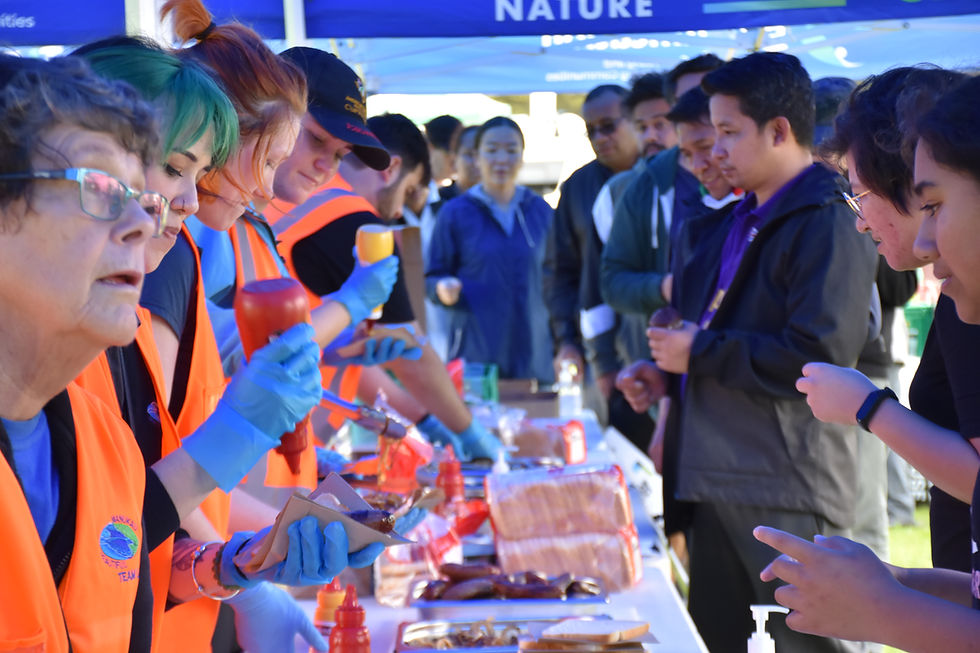
Make your project fun! Arrange for refreshments or a BBQ after the project to reward your volunteers for their hard work.
Talk to local businesses about sponsoring the cost of refreshments. They might also like to donate prizes for outstanding volunteers.
Take the opportunity to educate and inspire your volunteers. Research information about environmental issues and opportunities affecting your community, e.g. recycling, composting or pest control. Your project could be a good opportunity to spread the word about other issues with your volunteers and local media.
6. Carry out your project
The day has finally come! Here are some recommendations to help the project run smoothly.
Before the project starts
As the Project Leader, you should arrive at the site first, in order to have everything ready to go when your volunteers arrive.
When you arrive, complete another risk assessment of the area, in case there are any new hazards present. Re-familiarise yourself with the risks you identified on your Risk Identification Checklist.
Have a first aid kit with instructions close at hand and make sure your appointed first aider knows where the first aid kit is.
Put up any signage you are using.
As people arrive
Make sure you keep a register of who attends. You can use our template for this.
Check with anyone who has a medical condition to clarify any limitations they might have and assign them to an appropriate task.
Direct your volunteers to get kitted up in PPE (Personal Protective Equipment) and organise any equipment they might need while they wait for the project to start.

Starting the project
Assemble all the volunteers in one place and give a thorough health and safety briefing. The briefing should outline plans for the day, the role of Project Leader(s) and what precautions they need to take to avoid harm from the hazards on your Risk Identification Checklist. Make them aware of where to go for first aid and where the evacuation point is. Aim to make the briefing motivating, informative and include time for questions.
If you have multiple area locations in your project, break your group into smaller groups and assign a Team Leader. Give this Team Leader the contact details of all Project Leaders in case of an emergency. It’s a good idea to brief Team Leaders prior to the project so they are prepared.
During the project
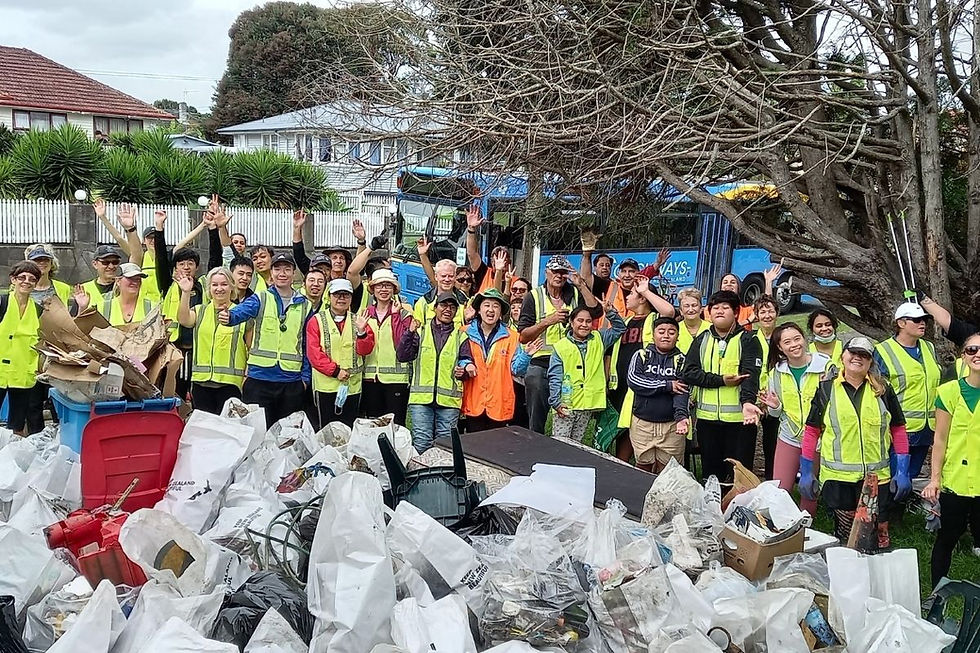
Take plenty of photos so you can share your story! Be sure to check with the people in the photo that you have permission to share these first.
Make a record of how long your project went for, how many people were involved and how much work you got done (e.g., number of rubbish bags collected, trees planted, etc.).
If you collect litter at your project and would like to do a litter audit, we can help. Please get in touch.

After the project
Project Leaders need to ensure the work site is left better than it was found.
If your group collected rubbish, ensure that it’s left in a secure and tidy manner in the spot your organised (with the Beautification Trust or with the collectors).
If your group completed a mural, tidy up any paint splatters as best as possible (drop cloths can help with this) and be sure to take any excess paint with you.
If you are using tools or equipment from our Community Tool Library, remember these must be cleaned before being returned.
7. Evaluate, reflect and share your impact
Congratulations on a successful project!
Report back to us on how it went, we would love to hear about it. Send through photos of the day to us and an overview of your achievements. Taking before and after photos are a great way to show your impact, as well as noting key stats such as; the amount of rubbish collected, how many people attended and how long your project went for.
Spread the word by sharing the success of the project on social media. Remember to tag the Beautification Trust on Facebook and Instagram so we can share it too. You can also share your story and photos with local news media. Well done and thank you for your amazing mahi for our community and our environment!
Support we can provide for community projects
The Beautification Trust is a social enterprise on a mission to connect and empower communities to learn, love and look after our environment. We’ve been running beautification projects, community events and environmental education in South and East Auckland for over 20 years.

With the support of our tools and resources, you’ll be set up for success. If you have any questions, our experienced team are happy to offer advice and tips along the way. Please feel free to get in touch!
We can support community projects in South and East Auckland with:
Funding for project expenses through our Tiaki Fund
Free use of tools and equipment through our Community Tool Library
Our Creator Space to use for meetings, workshops, education and events
Getting permission from Auckland Council to run an event in a public place
Advice on Health & Safety, including in-person and online Health & Safety inductions
Promoting your project and connecting you with other community groups who could pitch in
Mural facilitation, including connecting with local artists and getting appropriate permissions
Arranging paint supplies
Pest control advice and supplies (plants and animals)
Providing educational materials
Arranging rubbish collection and/or a litter audit for your project
Sharing your project’s impact with our network
Please contact us for help with anything listed above! You can find links to all our resources and support options in the Appendix.


Comments